Welcome to the ultimate guide on dryer belt repair! A malfunctioning dryer can disrupt your daily routine, but fear not—this article is your go-to resource for fixing the issue. Whether you’re a DIY enthusiast or just looking to save some bucks on repairs, we’ve got you covered.
Understanding the Basics of Dryer Belt Repair
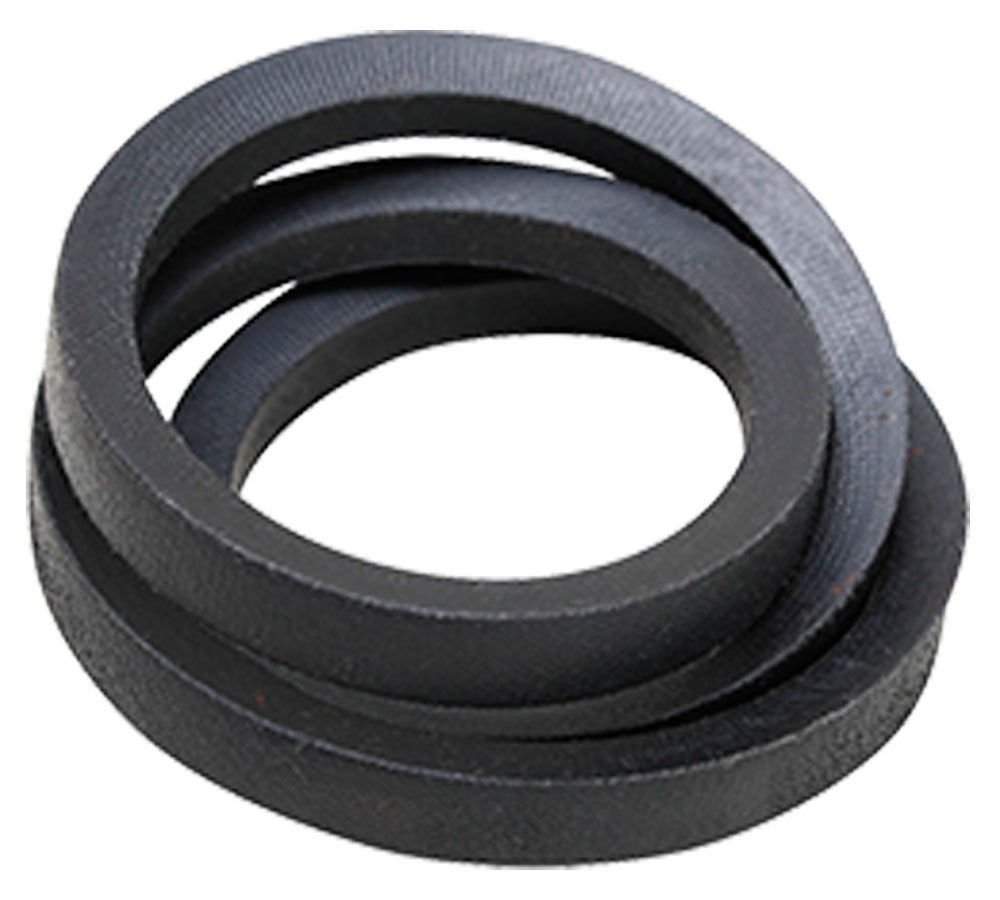
What is a Dryer Belt?
In the realm of appliance mechanics, the dryer belt plays a crucial role. It’s a rubber band that wraps around the dryer drum and motor, facilitating the drum’s rotation. Over time, wear and tear can cause the belt to break, leading to a malfunctioning dryer.
Signs of a Faulty Dryer Belt
Identifying an issue early can save you from a dryer breakdown. Look out for signs like unusual noises, a drum that won’t turn, or clothes taking longer to dry. These indicators could point to a malfunctioning dryer belt.
Tools Needed for Repair
Before diving into the repair process, gather essential tools: a screwdriver, pliers, and a replacement dryer belt. Ensuring you have the right tools on hand will streamline the repair process.
DIY Steps for Dryer Belt Repair
- Safety First
Always unplug the dryer before starting any repairs. Safety is paramount, and this step ensures you won’t encounter any electrical hazards during the process.
- Accessing the Dryer Belt
Remove the dryer’s back panel to access the drum and belt assembly. This step might vary based on your dryer’s model, so consult your user manual for specific instructions.
- Removing the Broken Belt
Carefully detach the old, damaged belt. Take note of the belt’s orientation to ensure the replacement is installed correctly.
- Installing the New Belt
Wrap the new belt around the drum and motor pulley, following the markings left by the previous belt. Tighten the belt to ensure it won’t slip during operation.
- Reassembling the Dryer
Put the dryer back together by reversing the disassembly process. Once assembled, plug it in and test to ensure the belt is functioning correctly.
FAQs about Dryer Belt Repair
How often should I replace my dryer belt?
Dryer belts typically last 7-10 years. However, factors like usage frequency and load size can influence their lifespan.
Can I use any replacement belt for my dryer?
It’s crucial to use a belt compatible with your dryer’s model. Consult your user manual or the manufacturer’s website for the right specifications.
Why is my dryer belt squeaking?
Squeaking may indicate a misaligned or worn-out belt. Check for any debris or signs of damage during the repair process.
Is dryer belt repair a DIY-friendly task?
Yes, with the right tools and guidance, dryer belt repair is manageable for DIY enthusiasts. However, if uncertain, consult a professional.
What if my dryer belt keeps slipping off?
Ensure the belt is correctly installed and tightened. If the issue persists, it might be a sign of a worn-out tensioner or other mechanical problems.
Where can I purchase a replacement dryer belt?
Replacement dryer belts are widely available online or at appliance parts stores. Ensure compatibility with your specific dryer model.
Conclusion:
Reviving your malfunctioning dryer with a simple belt repair is not only cost-effective but also empowering. With the insights provided in this guide, you’re equipped to tackle the issue head-on. Say goodbye to damp clothes and hello to a fully operational dryer!